Setting Up K-9 Mail for Android
Looking to setup your email on your Android phone? This tutorial will walk you through the process.
Download K-9 Mail
First thing, if you haven’t already, download K-9 Mail from the Google Play Store.
Setup
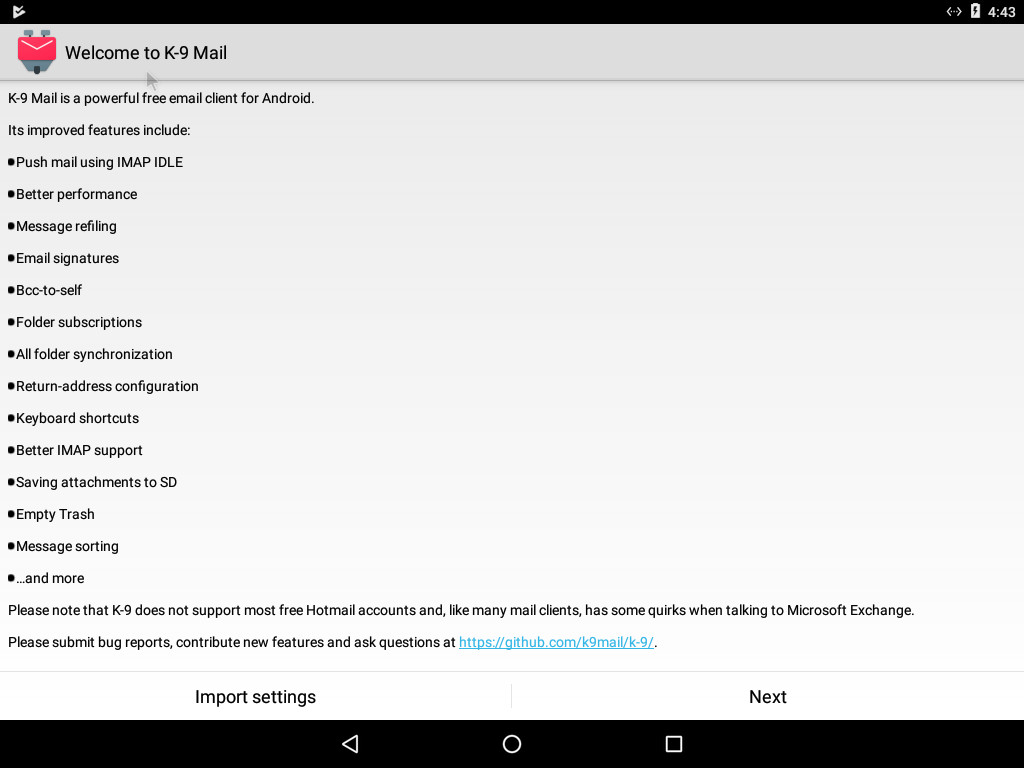
1) Once K-9 Mail installs, use the icon to open it up, and you should see a screen that looks like this, on which you can select “Next”.
2) On the next screen, enter your full email address and password, and select “Next”.

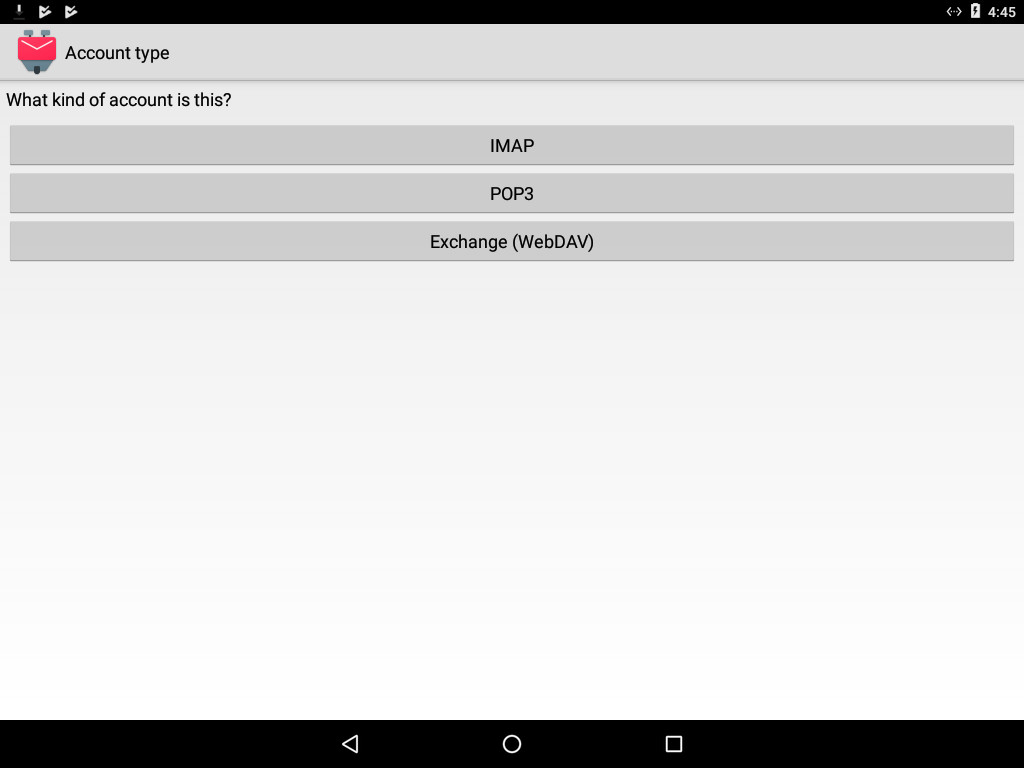
3) Select “IMAP”.
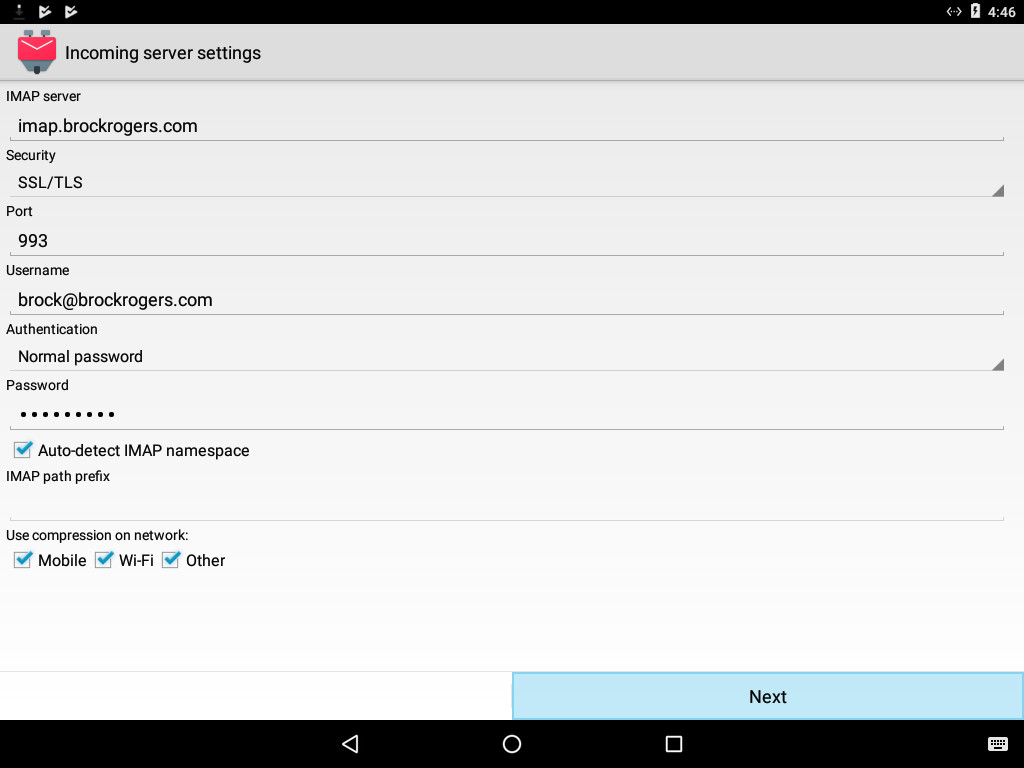
4) The settings on this screen should fill in automatically, but if they don’t, fill in:
- IMAP Server: imap.[yourdomainname.com]
- Security: SSL/TLS
- Port: 993
- Username: [your full email address]
- Authentication: Normal password
- Password: [your password]
Then select “Next”.
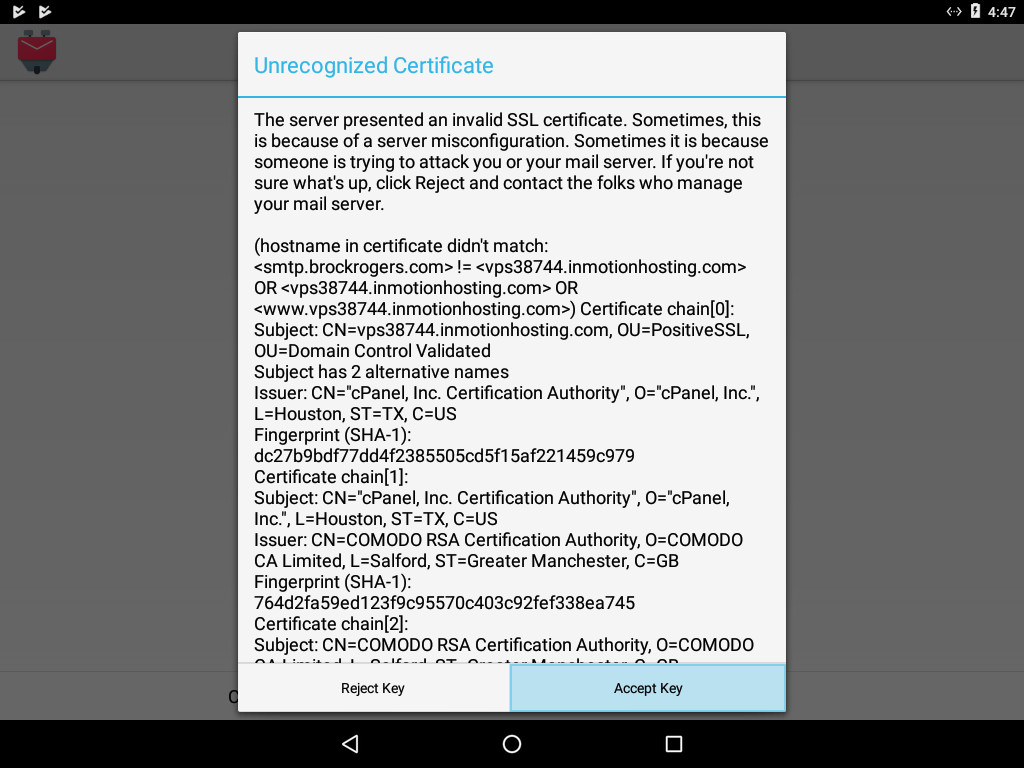
4a) If presented with this screen, select “Accept Key”.
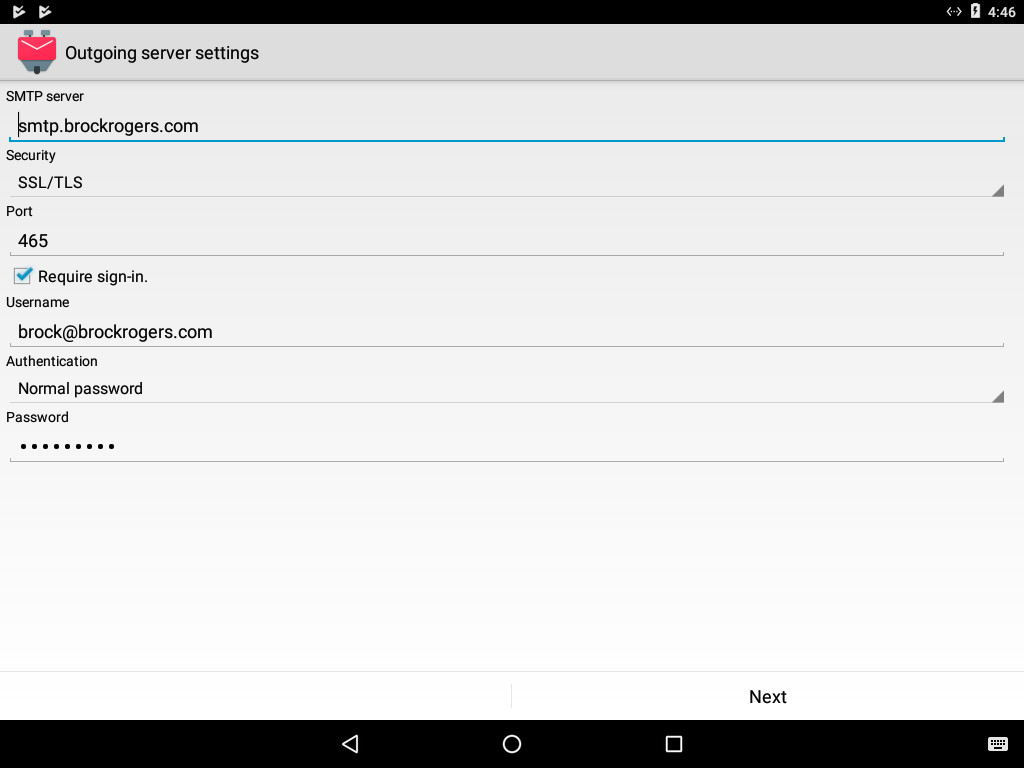
5) The settings on this screen should fill in automatically, but if they don’t, fill in:
- SMTP Server: smtp.[yourdomainname.com]
- Security: SSL/TLS
- Port: 465
- Require Sign-in: Checked
- Username: [your full email address]
- Authentication: Normal password
- Password: [your password]
Then select “Next”.
5a) If presented with this screen, select “Accept Key”.
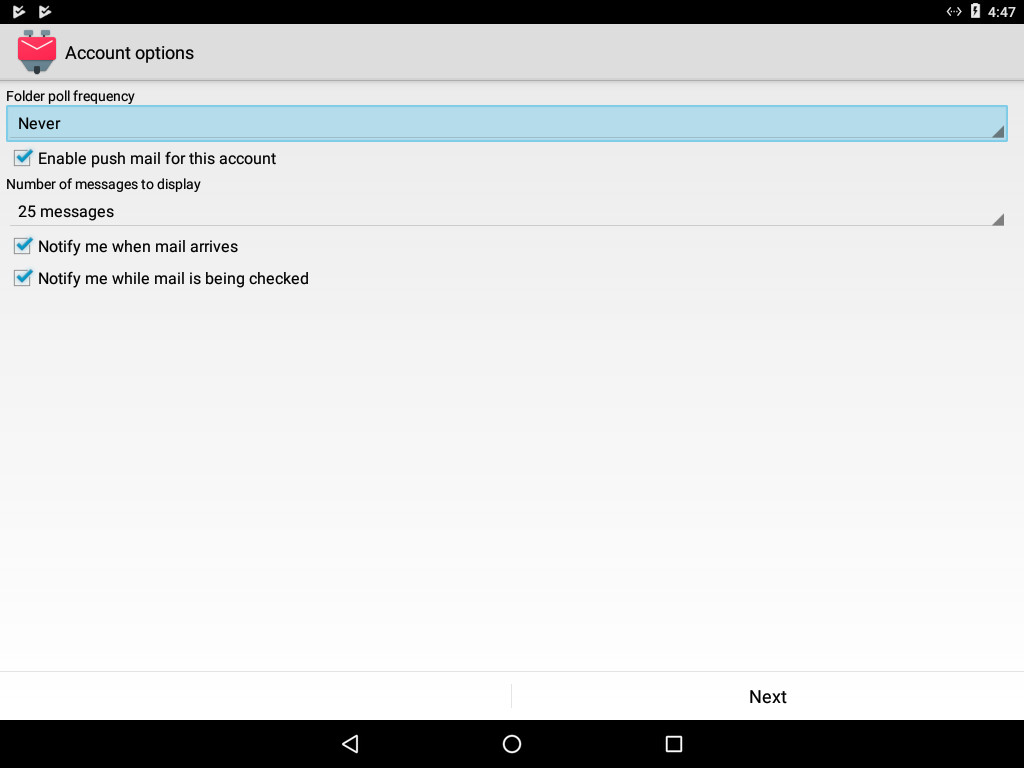
6) The settings on the following screen should all be correct, unless you tend to have a lot of email. If that’s the case, you can change the “Number of messages to display” to a higher number.
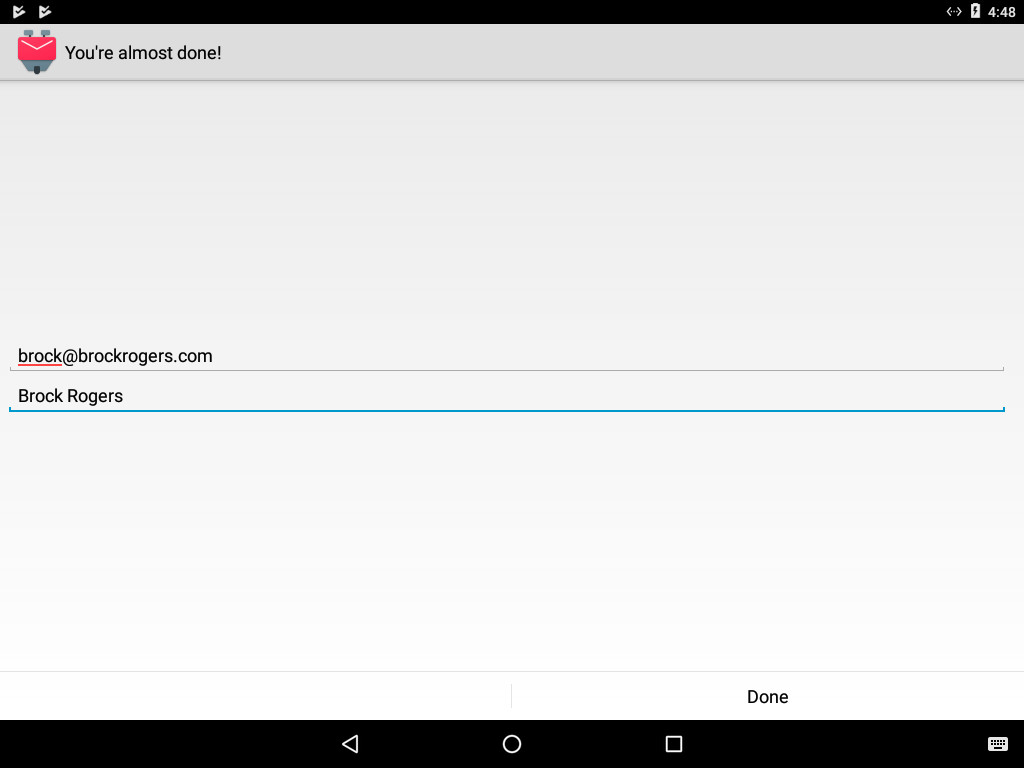
7) Finally, retype your email address in the first field, and your name in the second field. Note: The name you type in the second field will be used on emails you send.